CoilArt Azeroth RDTA Review
CoilArt is quickly becoming a highly recognized manufacturer in the vape scene. The Azeroth RDTA is a welcome follow up to their flagship MAGE RTA, which was welcomed with great reviews. CoilArt has presented us with this new atty to rival the likes of the Limitless in the RDTA market.
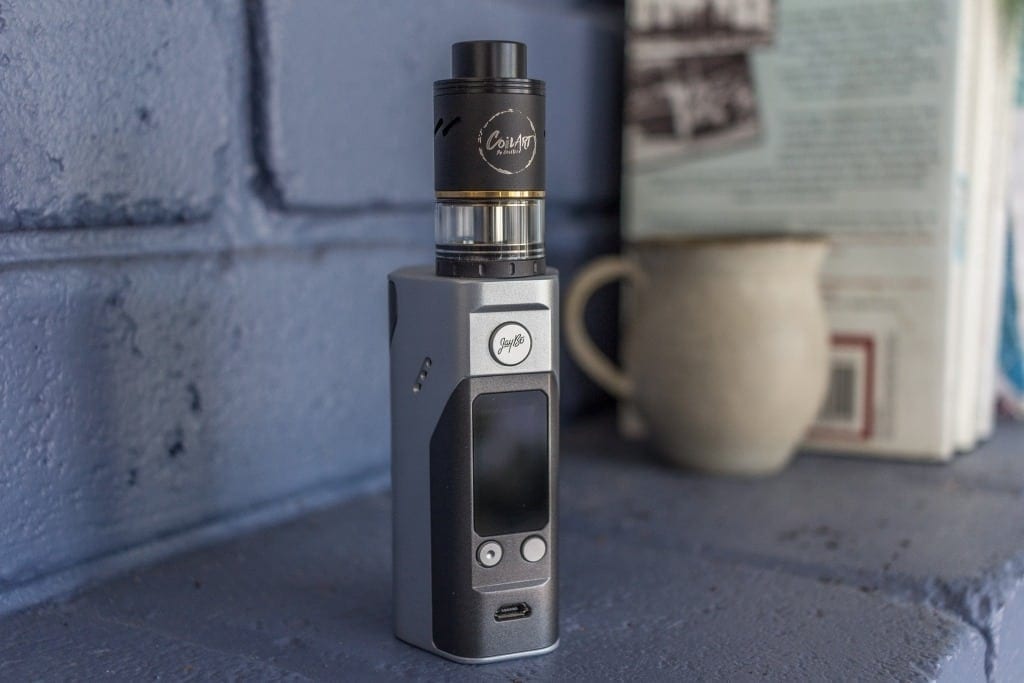
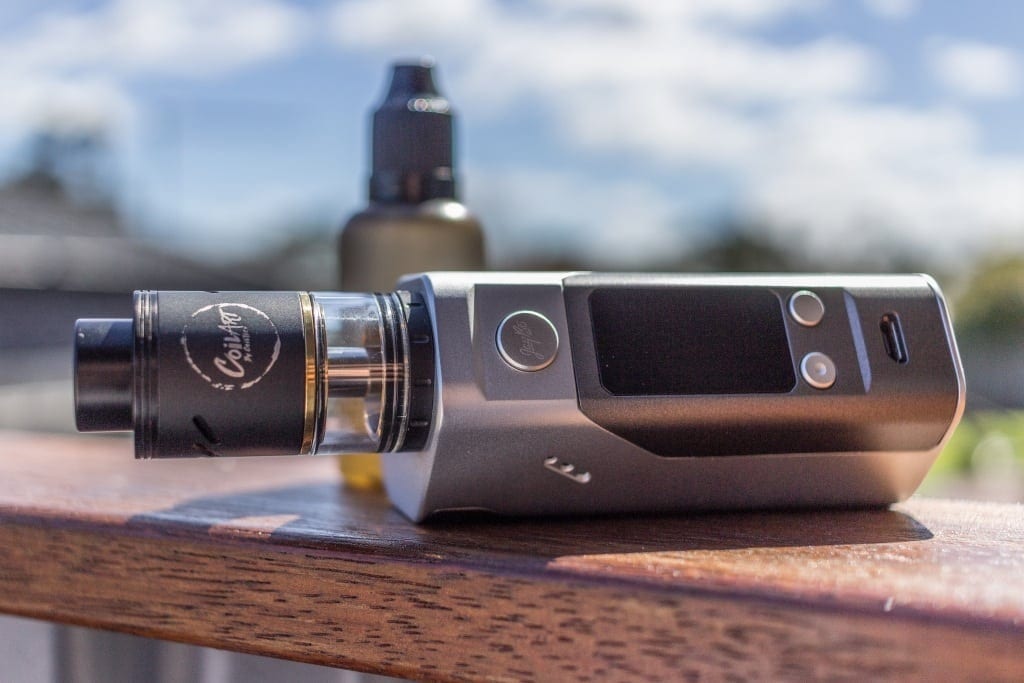
The Azeroth is definitely making waves in terms of its appearance. A genesis style RDTA with 24k gold plated Goon style deck, bridge posts, clamps, 510 connection and pin.
The body is matte black finish and you can also order one entirely in gold. At 54mm tall, the Azeroth also boasts four large wicking ports, a peek insulator, 4ml juice capacity and 3 drip tip options.
In The Box
- 1x Azeroth RDTA
- 1x Extra Glass
- 1x Screwdriver
- 1x Extra Drip Tip
- 1x 510 Drip Tip Adapter
- 2x Extra Bridge Posts
- 4x Extra Screws
- 1x O-Rings Bag
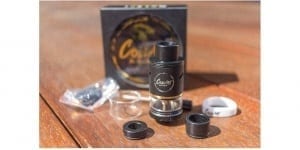
Out of the Box
I have to hand it to CoilArt on their quality of packaging; all their products are superbly packaged. The Azeroth is no different, looking very much at home in its relatively small box.
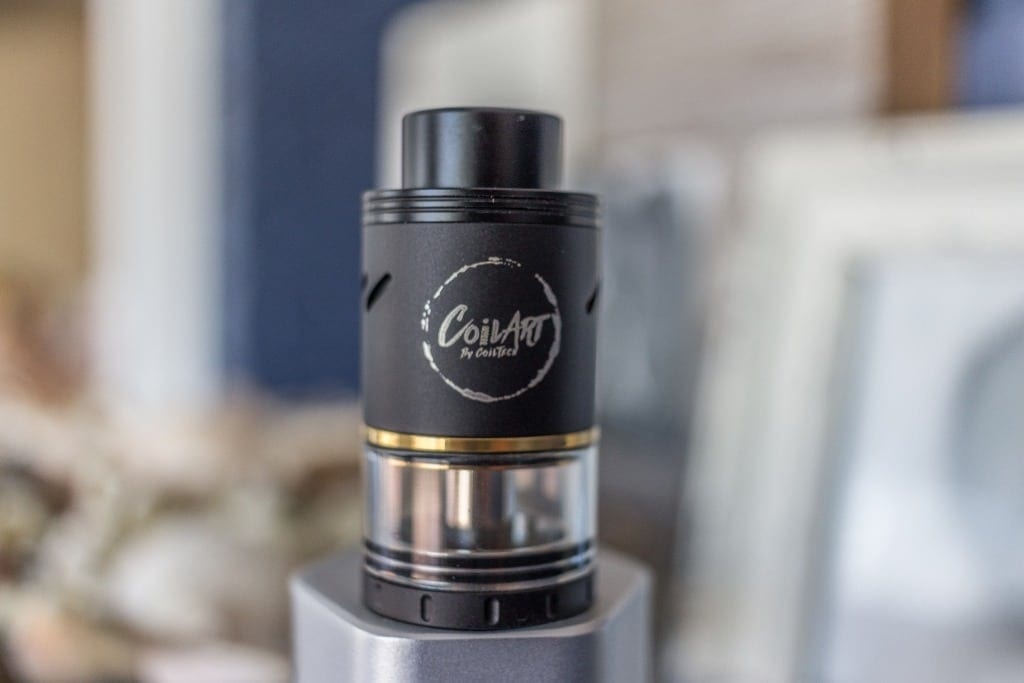
The first thing that strikes my eye is how the gold plating stands out against the matte black finish – this atty looks a million bucks! Paying closer attention, the up close look and attention to detail do not disappoint. You can feel quality craftsmanship as soon as you pick it up.
The matte black paint on the sleeve feels nice to the touch and looks hearty enough not to scratch without applying considerable force. The CoilArt logo looks good and is applied well onto the matte finish paint. You can tell CoilArt employs top notch Quality Assurance measures, as their attys come clean, shiny, well finished and with no smell or remanence of machine oil.
The Azeroth comes apart into 6 sections, and the threads and o-rings are a very smooth and precise fitment. The base and build deck are one solid piece, although you can see machining marks on the inside, there are no burs or rough areas.
The Pyrex glass, which makes the juice well, is held in with 2 o-rings with just enough tolerance to hold it in firmly without being hard to remove
The fill ring then screws into the 4 threaded sections around the juice wicking ports. This has 2 o-rings, one that seals the Pyrex below and one that seals the top cap.
The delrin adjustable airflow section then fits into the top cap with more o-rings. This adjustable section reminds me of the mutation top caps, however not as slanted. To top it off you have the choice of 3 delrin drip tip options – a 12mm cloud chasing drip tip, an 8mm flavor drip tip or a 510 drip tip adapter.
The 12mm cloud chasing drip tip sits low and wide. The 8mm drip tip is obviously narrower, but sits a little higher. It is also slightly conical inside, helping the vapor travel upwards into your mouth. The 510 drip tip adapter enables you to utilize your favorite drip tip, as long as it is compatible with the 510 size.
The RDTA also comes with a spare Pyrex glass section, atty protector, a small screw driver (mine was black and longer than the usual little blue one), a bag of o rings, spare bridge clamps and screws.
Description (From the CoilArt Website)
- 24mm Diameter
- 54mm Overall Height
- 4.0 E-Liquid Capacity
- Gold Plated Bridge Posts
- Gold Plated Clamps
- SUS304 Stainless Steel
- Adjustable Airflow
- PEEK Insulator
- Food Grade Pyrex Glass
- Gold-Plated 510 Contact
- 12mm Internal Diameter Cloud Drip Tip
- 8mm Internal Diameter Flavor Drip Tip
- 510 Drip Tip Adapter
Usage
When it comes time to building and installing your coils, you will need to spend some time preparing your build if you have not built on a Goon style deck before. If you want to fit a big coil build into the Azeroth, you are wasting your time.
The length of the screws and height of the bridge clamps and screws, will simply not allow you to run large diameter builds. Simple Claptons, alien Claptons, smaller fused Claptons and round wire builds will be all fine.
The trick, I found and remember YMMV, is to pre-cut your coils to size and install them head to head. So rather than side by side or overlapping, you have the ends touching and each taking up half the space on the bridge clamps.

The screws tighten down easily; remember to not over tighten as you will run the risk of stripping your screw heads, the threads in the build deck or your coils themselves.
To wick the Azeroth, make sure you cut at least double the length of your desired wicking material than you normally would for an RDA build. Wick the coils normally and fold them down like an upside down U and trim them just below the top of the glass section.
The wicks do not need to be deep down in the juice channel to soak up liquid. This is because when you tilt the atty to vape, the liquid comes up to the wick naturally with gravity.
If your wicks are too far down, they take up unnecessary real estate in the liquid reservoir leaving less room to hold e-juice.
Once wicked, at this stage you have two options. You can train the wicks along the juice ports with some e-liquid and then screw the fill ring on, or if you prefer not to take the fill ring off before building/wicking – you can fold and poke the wicks down into their respective channels.
With either method, ensure that there is still some room for air to escape around each wick by poking them to one side or making some room with your tweezers. This ensures air can flow in and out of the reservoir, which is needed to complete the vacuum effect.
Before adding the top cap on, you need to fill the reservoir. Find the cyclops shaped fill hole on the ring and add your desired e-liquid. I recommend keeping the RDTA straight and tilting your juice bottle to fill.
If you slow down just at the top of the glass section, you should be able to get just a little more juice in. If you keep going or have the atty tilted, you risk overfilling and it leaking out of the fill hole.
After filling you can add the top cap and adjust the airflow to your taste. The airflow holes should be positioned in line with the coils.
The airflow can be adjusted by holding the finned part at the top of the airflow adjustment while holding the knurled grips located at the bottom of the atty.
Airflow can be adjusted anywhere between none and 3 air holes. The turning mechanism is only held in via o rings, so it does not click into place and it can be set anywhere in between the holes if required.
Performance
The first setup I tried on the Azeroth was an A1 Alien Clapton, 5 wraps at 2.5mm diameter coming in at .24 ohm. I found this to fit quite well in the build deck once I finally figured out the build method mentioned above.
When attempting these type of builds, it’s always good to know and understand battery safety. We recently published an article right here that goes over the different aspects of battery safety! If you are interested, feel free to check it out at the link below!
[button color=”red” size=”big” link=”/likes/BatterySafetyArticleLink” ]All About Battery Safety Article[/button]
Click Here to Check Out All About Battery Safety Article!
The sweet spot for this build was around 80watts with 2 airflow holes open. The flavor from this build was impeccable. It has very appealing taste and enough airflow to keep the vape cool, while still putting out a heap of cloud. This would have to be the closest experience to an RDA I have ever had with a tank style atty.
The next setup I tried was a normal round SS316L 24 gauge spaced build, 8 wraps at 3mm diameter, coming in at 0.3ohms. I was keen to see how the Azeroth performed in TC mode and it did not disappoint.
It worked as expected, the coils read fine and it was fun to be able to dial in different temperatures. It did not kick me back into power mode once and worked fine with locking down the resistance of the coil.
The flavor of this build was not as pronounced as the Alien Clapton build, however was still very tasty and comparable vapor production.
On both of these builds I tried both organic cotton and rayon. Both were comparable with vapor production and I didn’t get any dry hits. I would say that I did get some thinner hits when chain vaping, so watch this if you are a heavy chain vaper.
I would say this would come down to coil build and the amount of watts you throw at it. Obviously a hotter build would take longer to re-wick ready for the next hit.
In regards to the 2 included drip tips, I personally didn’t find much different in performance. For me it was more comfortable to use the 8mm flavor tip, but that is just personal preference. I do think the cloud tip does look better on the atty though, not sitting as tall and helps to compact the look.
With the builds I used, the heat from coils to my mouth was not an issue. Since being delrin, the drip tips did not get hot and burn my lips – again the huge open airflow would also assist here.
I have yet to experience any connectivity issues or ohm jumping from the Azeroth.
Wrap Up
The Pros most definitely outweigh the Cons of the Azeroth. The really only Con being the small bridge clamps and gap to fit your coils into could be a challenge for some to build on. It may be deal breaker for those who like to run huge diameter builds. If this is not of concern to you and like the look of the Azeroth, I would certainly recommend you give one a try.
Given the fact that CoilArt’s quality control is top notch, I think the Azeroth is a very acceptable product for its price point. The overall look and feel, materials, gold plating, design and craftsmanship are all winners in my view. Let us know what you think in the comments section below!